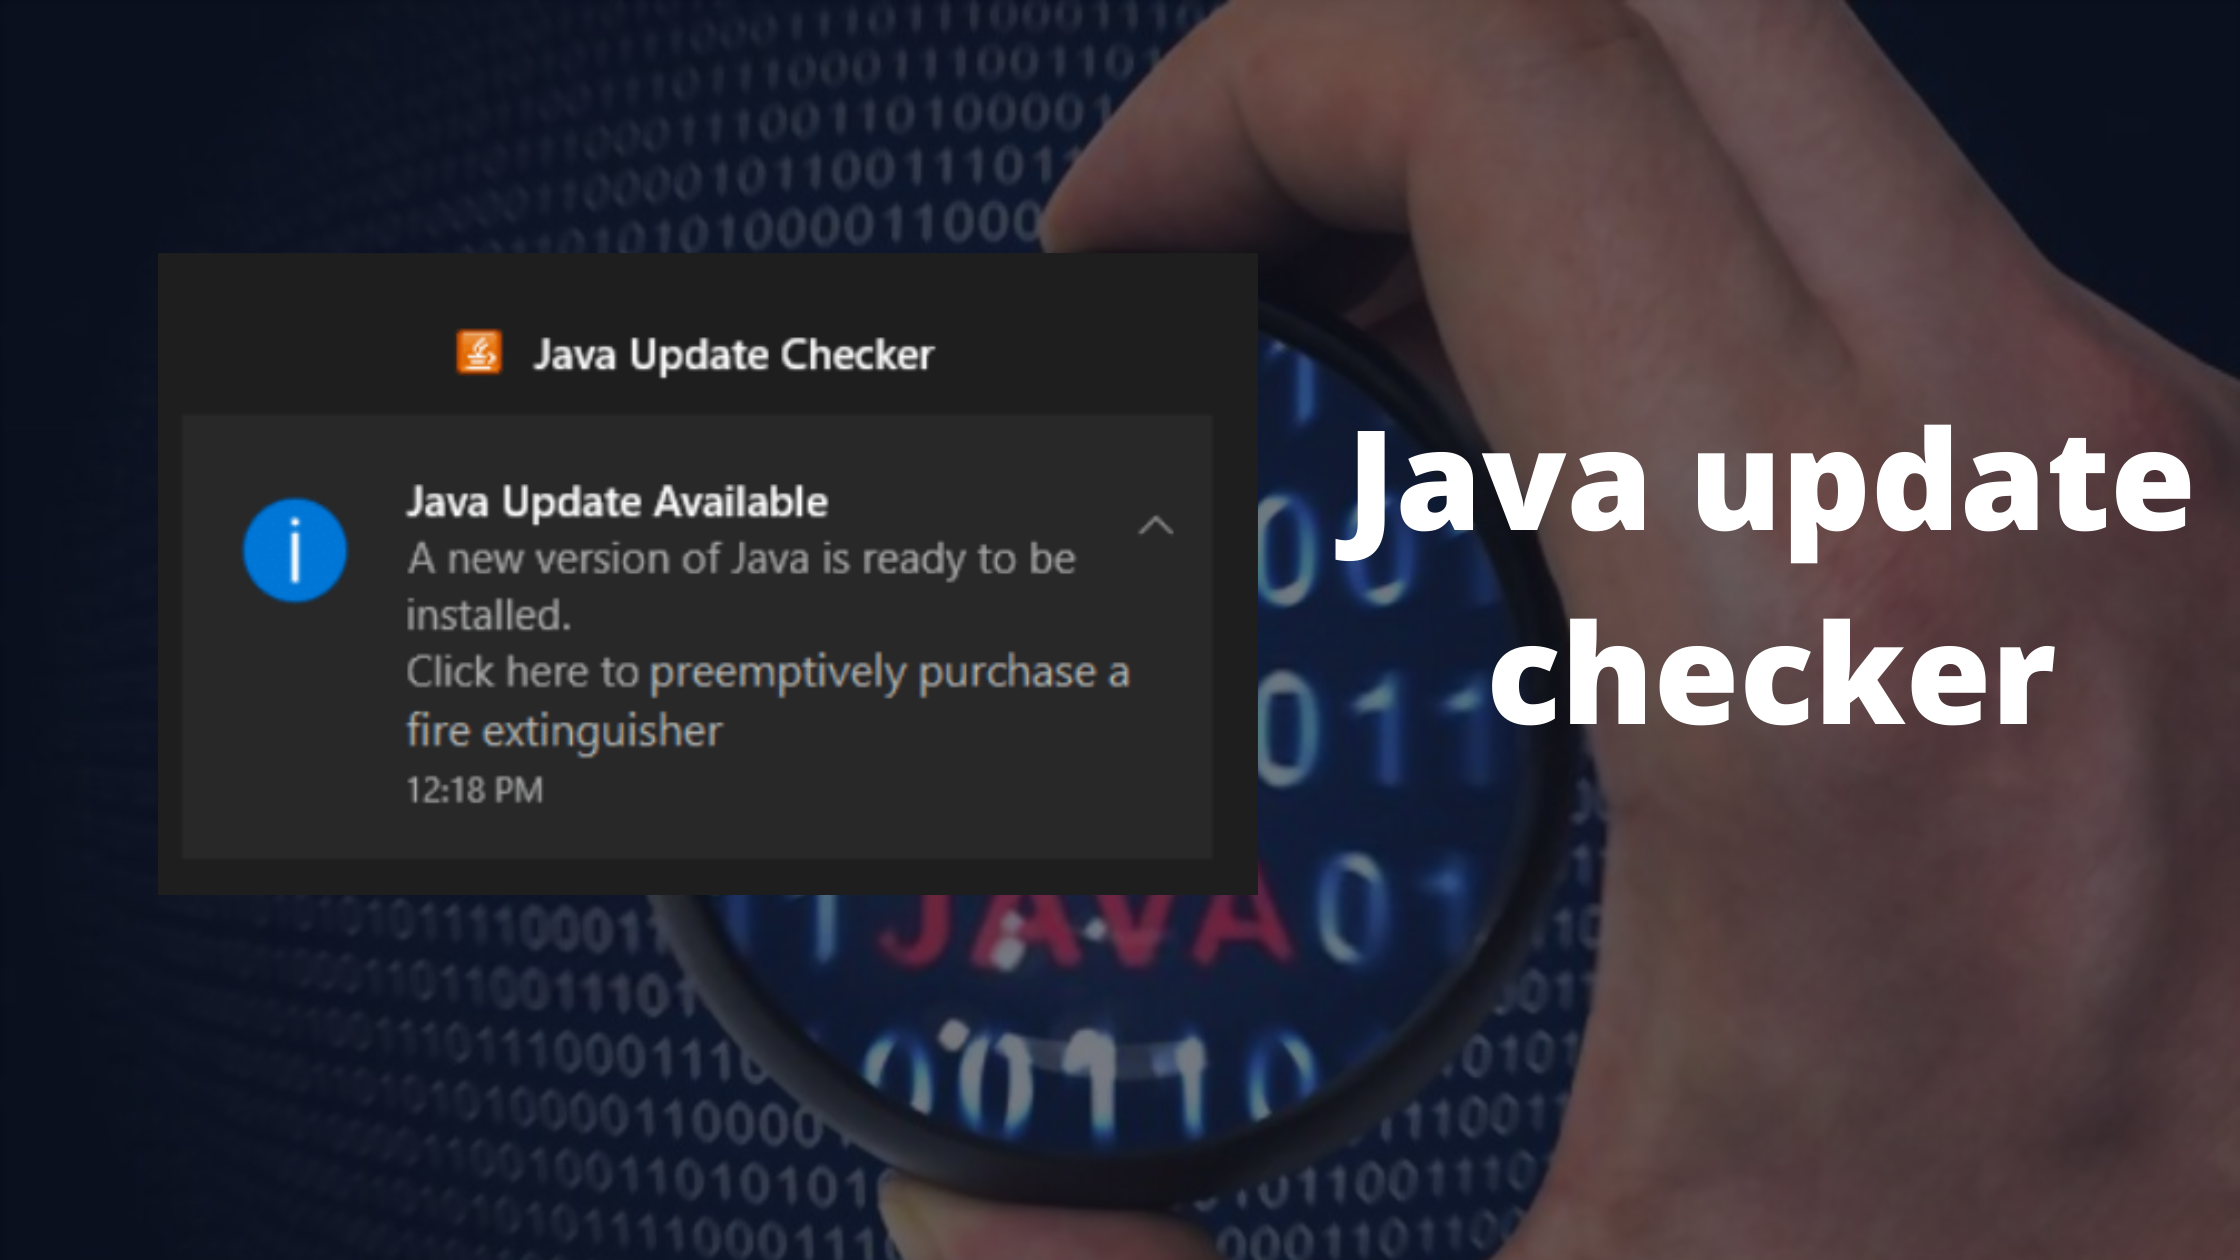
Java offers you an excellent option to set Multiple Java version parameters for handling the java applets that run on your computer. However, if the Java auto-updater shows you a message like “A new version of Java is ready to be installed” and is constantly hammering you with multiple java updates, it becomes annoying while working on some important stuff on your computer. then there are various tools that Java offers in order to disable the auto-update feature. Below we are going to discuss everything you need to know about the Java Update Checker.
Java is a programming language that is used on almost every platform today. It offers the ability to develop complex and advanced apps for Windows and Android. Most of the High-end software or apps that we use today are mostly developed in Java.
You require various Java applets in order to run different applications on your computer. These applets help programs to run smoothly and use different libraries of Java. However, it requires your computer to constantly update all the files related to Java ensuring your system is compatible with all Latest Java Versions.
What is a Java Update Checker?
Java update checker is a tool designed by Oracle that determines which Java script version is required on your computer and installs it on your computer. It helps you to run any type of software on your computer by constantly keeping your libraries and java versions updated. If there is a broken or corrupt code in your java applet, this tool can fix it by downloading and replacing it with a patched copy.
This tool is important for apps to perform smoothly and seamlessly on your computer. visit the official website of java to get more information on Java Update Checker
How to Enable Java Update Checker?
As this tool is crucial for running software on your computer, by default, it is enabled for checking updates on your system. There is no need to enable or activate it and this tool can work in the background without any manual input. However, for downloading updates, it might ask you for confirmation.
If it rarely asks you for confirmation before downloading any update then you should keep it enabled or running. However, if it constantly interrupts you in your work or while doing something on your computer then you can follow the below-given steps to disable Java Update Checker
How to Disable Java update checker?
Oracle, the company behind Java, has recommended keeping the Auto-update feature enabled on your computer. These updates contain various security fixes, Broken code patches, and important system-related updates. If you miss any of the updates, you can get yourself or your system into trouble and hackers can easily use the loophole to attack your computer and gain valuable information and files. If you want to disable the Java auto-update checker, follow these steps.
- Click on the Windows start bar and type “File Explorer”.
- Go to the “C” Drive and then open the Program Files (x86) or Program Files (x64) folder.
- If the folders are hidden then Right-click on the top section of your File Explorer tab and select Properties>> Show Hidden Files/folders.
- Inside the Program Files folder, go to Java >> jre7 >> bin.
- Look for the “javacpl.exe” file, right-click it and select “Run as Administrator”. Enter your system password if required.
- Head over to the “Update” tab on the Java Control Panel and uncheck the box which says “Check for Updates Automatically”.
- Finally, click on the OK button and reboot your system to apply the changes.
That’s it! You have successfully disabled the java auto-update checker. Even though after disabling the auto-update checker, you should still check for the updates once a month to keep your system up to date.
How to manually check for Java Updates?
Even though you have disabled the Java auto-updates checker on your computer, you can still update it manually or check for the latest version available.
Follow these steps to manually update Java on your PC
Step 1: Open the start menu on your system and type “Control Panel“.
Step 2: Open the Java Control Panel by clicking on the “Java” icon.
Step 3: Under the “General” tab, click on the “About” button to know about the version of installed Java software.
Step 4: In the Java-Applet Runtime Settings, Click Java >> View. Here you can see the latest available version of Java software. Note the Version code and compare it with the previously seen version.
Step 5: If both the code matches, your system is up to date. Otherwise, download and install the update on your Computer.
Final Words!
If it is not necessary then don’t disable the Java auto-update checker tool. This way you can keep your system secure, efficient, and free of any security or programming related bug. Even if you disable the auto-update checker on your system, it is recommended to check for updates at least once a month.
Please let us know if you have any questions or comments regarding the Java Auto-updater.
